How to Do Git Commits on Claude Code: Step-by-Step Guide
Making git commits in Claude Code is straightforward: Claude can automate the entire workflow, from staging changes to writing commit messages. Use the /commit skill to delegate commits to Claude while you focus on coding. This prevents context-switching friction and helps you avoid exceeding usage limits during critical tasks.
- Audience: Developers working in Claude Code who need fast, streamlined commits without leaving the terminal
- Key benefit: Stay in flow state by letting Claude handle commit orchestration automatically
- Best practice: Pair with Usagebar to track usage before commits trigger rate limits
- Pro tip:
git commit -m "message"takes 2 keystrokes; Claude automates this with one slash command
What is the /commit skill in Claude Code?
Claude Code allows you to create skills (also called slash commands) that automate repetitive tasks. The /commit skill is a custom workflow you can set up to delegate git commits entirely to Claude. According to Claude Code documentation, skills are created as markdown files in your .claude/skills/ directory and can include custom instructions, templates, or scripts.
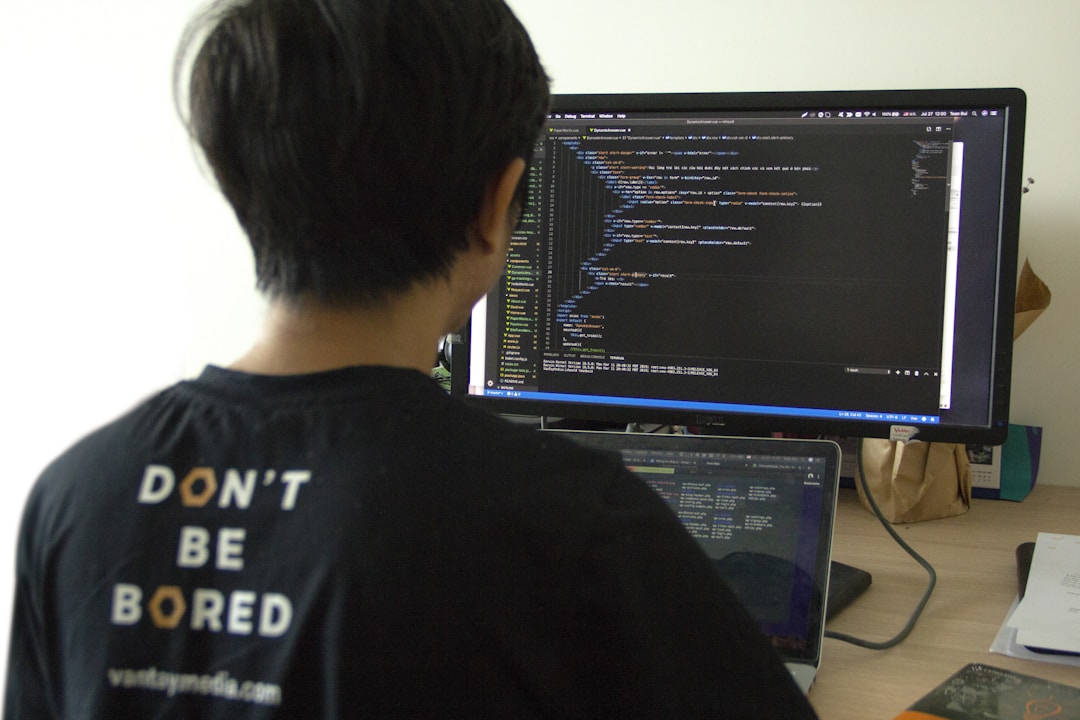
Instead of manually staging changes, writing messages, and pushing commits yourself, you can invoke /commit and let Claude handle the workflow based on your coding standards. This is particularly useful when you're in a productive state and don't want to break context with git operations.
How to create your first /commit skill
Setting up a /commit skill takes about 5 minutes. Here's the process:
Step 1: Create the skill directory
In your project root, create the skills folder structure:
mkdir -p .claude/skills/commit
Step 2: Write the SKILL.md file
Create .claude/skills/commit/SKILL.md with frontmatter configuration and instructions. The frontmatter tells Claude when and how to use the skill:
---
name: commit
description: Create a git commit with staged changes. Claude reviews the diff, writes a clear commit message, and commits to the current branch.
disable-model-invocation: true
---

Create a git commit with the following workflow:

1. Run `git status` to see staged and unstaged changes
2. Run `git diff --cached` to review staged changes
3. Analyze the changes and write a clear commit message following conventional commits
4. Run `git commit -m "message"` with the message
5. Run `git status` to confirm the commit succeeded

Commit message guidelines:
- Start with type: feat, fix, refactor, docs, test, chore
- Use imperative mood ("Add feature" not "Added feature")
- Keep first line under 50 characters
- Add blank line then detailed explanation if needed
- Example: "feat: add user authentication with JWT"

Do not commit if there are no staged changes. Ask the user to stage changes first.
Step 3: Test the skill
Stage some changes in your repo, then invoke the skill from Claude Code:
/commit
Claude will review your changes, write a message, and create the commit automatically.
How git commits work in Claude Code
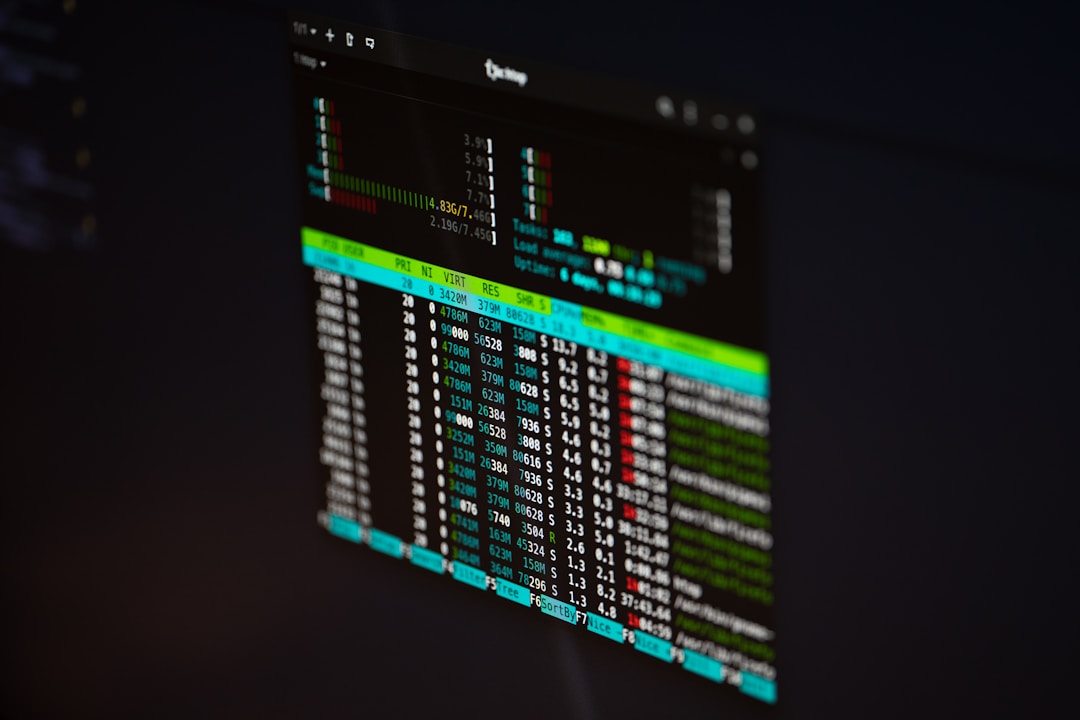
When you invoke /commit, Claude executes a series of bash commands to analyze your repository state. Claude Code with Pro or Max plans includes access to terminal execution, so Claude can run git operations directly.
The typical workflow:
- Claude runs
git statusto see what's staged - Claude runs
git diff --cachedto review the actual code changes - Claude analyzes the changes and generates a commit message
- Claude executes
git commit -m "message"with the generated message - Claude confirms success with a final
git status
Best practices for commits in Claude Code
While Claude can automate commits, following these practices ensures clean history and prevents unexpected commits:
- Stage intentionally: Only stage the changes you want committed. Use
git add path/file.jsfor specific files rather thangit add . - Review the diff first: Before running
/commit, rungit diff --cachedyourself to verify what's going out - Set your git config: Ensure
git config user.nameandgit config user.emailare set so commits are attributed correctly - Monitor usage limits: Each Claude Code operation counts against your subscription limits. Check your Claude Code usage limits before large commit sessions
- Use conventional commits: Your skill instructions should enforce a commit style (feat:, fix:, docs:) so your history is queryable and follows industry standards
Avoiding usage limits during commit workflows
A common frustration: you're in the middle of wrapping up a PR, you invoke /commit, and Claude has hit your usage limit. No commits, no progress. Usagebar prevents this by showing your remaining Claude Code usage directly in your macOS menu bar.
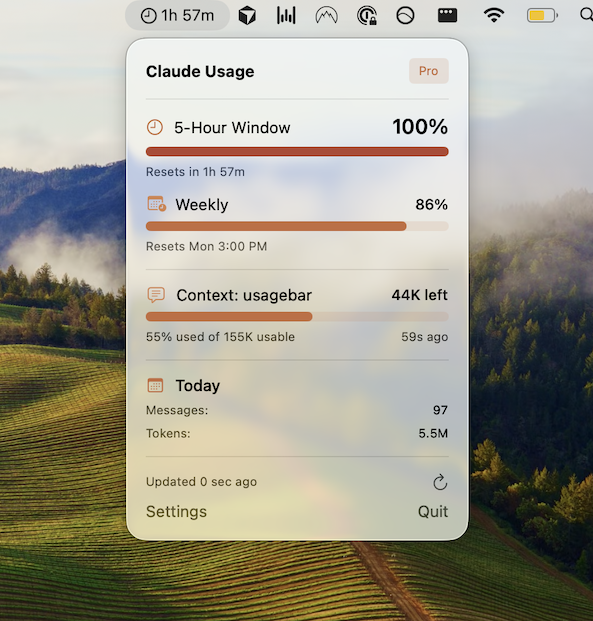
Usagebar tracks usage with smart notifications at 50%, 75%, and 90% of your limit, giving you a heads-up before you run out. This is especially critical for workflows like yours—if you're doing active development with frequent commits, you want visibility into how much capacity you have left.
The tool also securely stores your Claude API credentials using macOS Keychain, so you don't manage tokens manually. Get Usagebar with flexible pricing (pay what you want, free for students) and take the guesswork out of usage limits.
How to check your usage before committing
If you don't want to use Usagebar, Claude Code has a built-in usage checker:
- Run
/usagein Claude Code to see your current allocation and remaining balance - Visit claude.ai/settings/usage to view your full usage history
Check your usage before running CPU-intensive operations (like large codebase refactors or multiple commits in one session) to avoid being rate-limited mid-workflow.
Troubleshooting common commit issues
Claude refuses to commit with "nothing staged"
Your skill should include logic to check for staged changes. Make sure you've run git add file.js before invoking /commit. A good skill will refuse to commit if git status shows no staged changes.
Commit message is generic or doesn't follow your conventions
Update your skill instructions to be more specific. Instead of "write a clear message," say: "Write a message starting with 'feat:' or 'fix:' and keep the first line under 50 characters. Here's an example: 'feat: add dark mode toggle to settings'."
Claude asks for permission but shouldn't
Add the allowed-tools field to your skill frontmatter to grant Claude pre-approved access to bash commands:
---
name: commit
allowed-tools: Bash(git *)
---
You hit a usage limit mid-commit
Usagebar's usage alerts help you avoid this. With notifications at 50%, 75%, and 90%, you'll know when you're approaching your limit before it becomes a blocker.
Advanced: Automating commits across multiple branches
If you work across feature branches frequently, you can extend your skill to handle branch-specific workflows. For example:
---
name: commit
description: Create a git commit on the current branch
disable-model-invocation: true
---

Current branch: !`git branch --show-current`

Create a commit following these guidelines:
- Prefix with the branch name if it's a feature branch
- Example: "feat(auth): add login endpoint"
- Review changes with git diff --cached before committing
The !`command` syntax runs shell commands and injects the output into the prompt. In this case, Claude sees which branch you're on and can tailor the commit message accordingly.
Key takeaways
- Create a
/commitskill in.claude/skills/commit/SKILL.mdwith clear instructions for how Claude should commit - Set
disable-model-invocation: trueso you control when commits happen - Include
allowed-tools: Bash(git *)to grant Claude git command access without per-use approval - Always stage changes intentionally before running
/commit - Monitor your Claude Code usage limits to avoid hitting rate limits during critical workflows
- Use Usagebar for real-time menu bar visibility into usage, with smart alerts at 50%, 75%, and 90%
Related resources
- How to use Claude Code slash commands
- Best Claude Code commands for developers
- How to check Claude Code usage limits
- When does Claude Code usage reset?
- What to do when Claude Code rate limit is hit
Sources
Track Your Claude Code Usage
Never hit your usage limits unexpectedly. Usagebar lives in your menu bar and shows your 5-hour and weekly limits at a glance.
Get Usagebar